January 1, 2021 by Anna Clark
Seed Starting for Beginners
Seed Basics
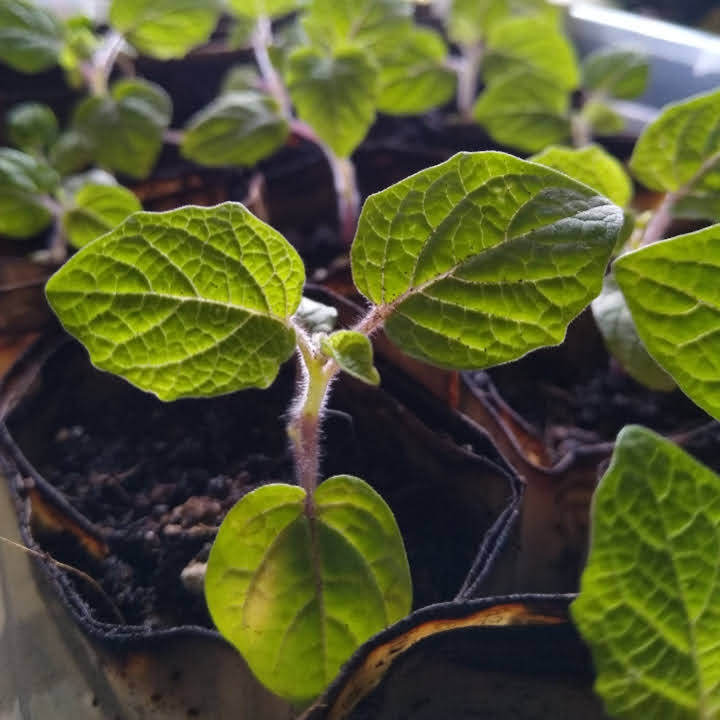
Anatomy: seeds basically consist of seed leaves (aka cotyledons), an embryo, and a seed wall. The cotyledons are food storage, and usually the first leaves that emerge and photosynthesize [1]. Seeds are dormant, but they are still alive and they are still exchanging gas (breathing) and using up energy stores. Ideally, you will store your seeds somewhere cold and dry. The colder and drier a seed is kept, the slower it’s metabolism, and the more vigorous it will sprout once conditions are correct. I keep my seed packets in a closed glass jar in my freezer. If you want to nerd out, here’s a link to a pretty famous seed vault, where seeds are kept below 0 degrees Fahrenheit: https://www.croptrust.org/our-work/svalbard-global-seed-vault/
Sprouting/germinating/breaking dormancy: For most vegetables, all that is needed for seeds to sprout is warmth and moisture. Some will germinate better in the dark, some will germinate better with light (the package will tell you what is needed). For fruits, herbs, and flowers, sometimes they will need additional steps, such as cold stratification, or breaking the seed wall.
Basics of Seed Starting
Step one: decide what you want to grow-vegetables, herbs, flowers?
Important questions:
- What do I actually (want to) eat? (i.e., don’t just grow radishes because they’re easy—will you actually eat/enjoy it?). What would I eat more of if it weren’t so expensive? Make a list.
- What grows well here? What Hardiness/climate zone are you in? Do you have microclimates to account for? What are they?
- For Western Washington and similar climates:
- The “Easiest for beginners” list: arugula, beets, bok choi, garlic, kale, lettuce, mustard greens, peas, pumpkins (look for a short days to maturity and feed a lot), purslane, squash—both winter and summer (see pumpkins), swiss chard, tomatillos, currant, cherry & pear tomatoes, potatoes, radishes (but do you really enjoy eating them, or are you just growing them because they’re one of the quickest crops?), and yes, zucchini.
- For ornamentals: Nigella, calendula, cosmos
- The “Yeah, you can do that, just takes a bit more effort” list: broccoli, cabbage, carrots, onions, collards, corn, cucumbers, green beans, leeks, roma and plum tomatoes
- Moneywort, morning glory (the annual kind!!!), sunflowers, perennials that need a stratification period
- The “oh, so you want a challenge and to cry tears of frustration” list: cauliflower, brussels sprouts, eggplant, okra, melons/watermelons, peppers, beefsteak tomatoes.
- Dahlias, and more.
- The “Easiest for beginners” list: arugula, beets, bok choi, garlic, kale, lettuce, mustard greens, peas, pumpkins (look for a short days to maturity and feed a lot), purslane, squash—both winter and summer (see pumpkins), swiss chard, tomatillos, currant, cherry & pear tomatoes, potatoes, radishes (but do you really enjoy eating them, or are you just growing them because they’re one of the quickest crops?), and yes, zucchini.
- For your first year, I would suggest focusing on the easier plants, and hold off on the more challenging plants until you have more experience. However, it’s not like I did that.
- If they are on the “Tears of Frustration” list, they usually either need lots of fertility, or more warmth than we get here in western Washington state. If you’re not in a Pacific Northwest Maritime climate, your plant lists will look different. Some, like Brussels sprouts are fussy—e.g., they need extra fertility, and if the weather is not right they won’t work. For example, if buds start forming when the weather is warm or the fertility isn’t correct, they’ll be loose and leafy instead of nice tight heads.
Step two: Figure out when to start your seeds.
- First, check the seed packet/website description and find your last frost date. Some plants, like broccoli, have a wide general time range to plant them in, but some varieties are meant for spring, or summer, or to overwinter. It’s best to get the specific variety’s information if possible.
- If not that, then using a seed starting calculator like Johnny’s is next best.
- Or, go to a regional planting chart like Tilth’s.
- Keep track of which ones are sown indoors, sown directly, and when the switch happens. For example, you can sow cucumbers a week or two before your last frost indoors, or a week after, directly into the ground.
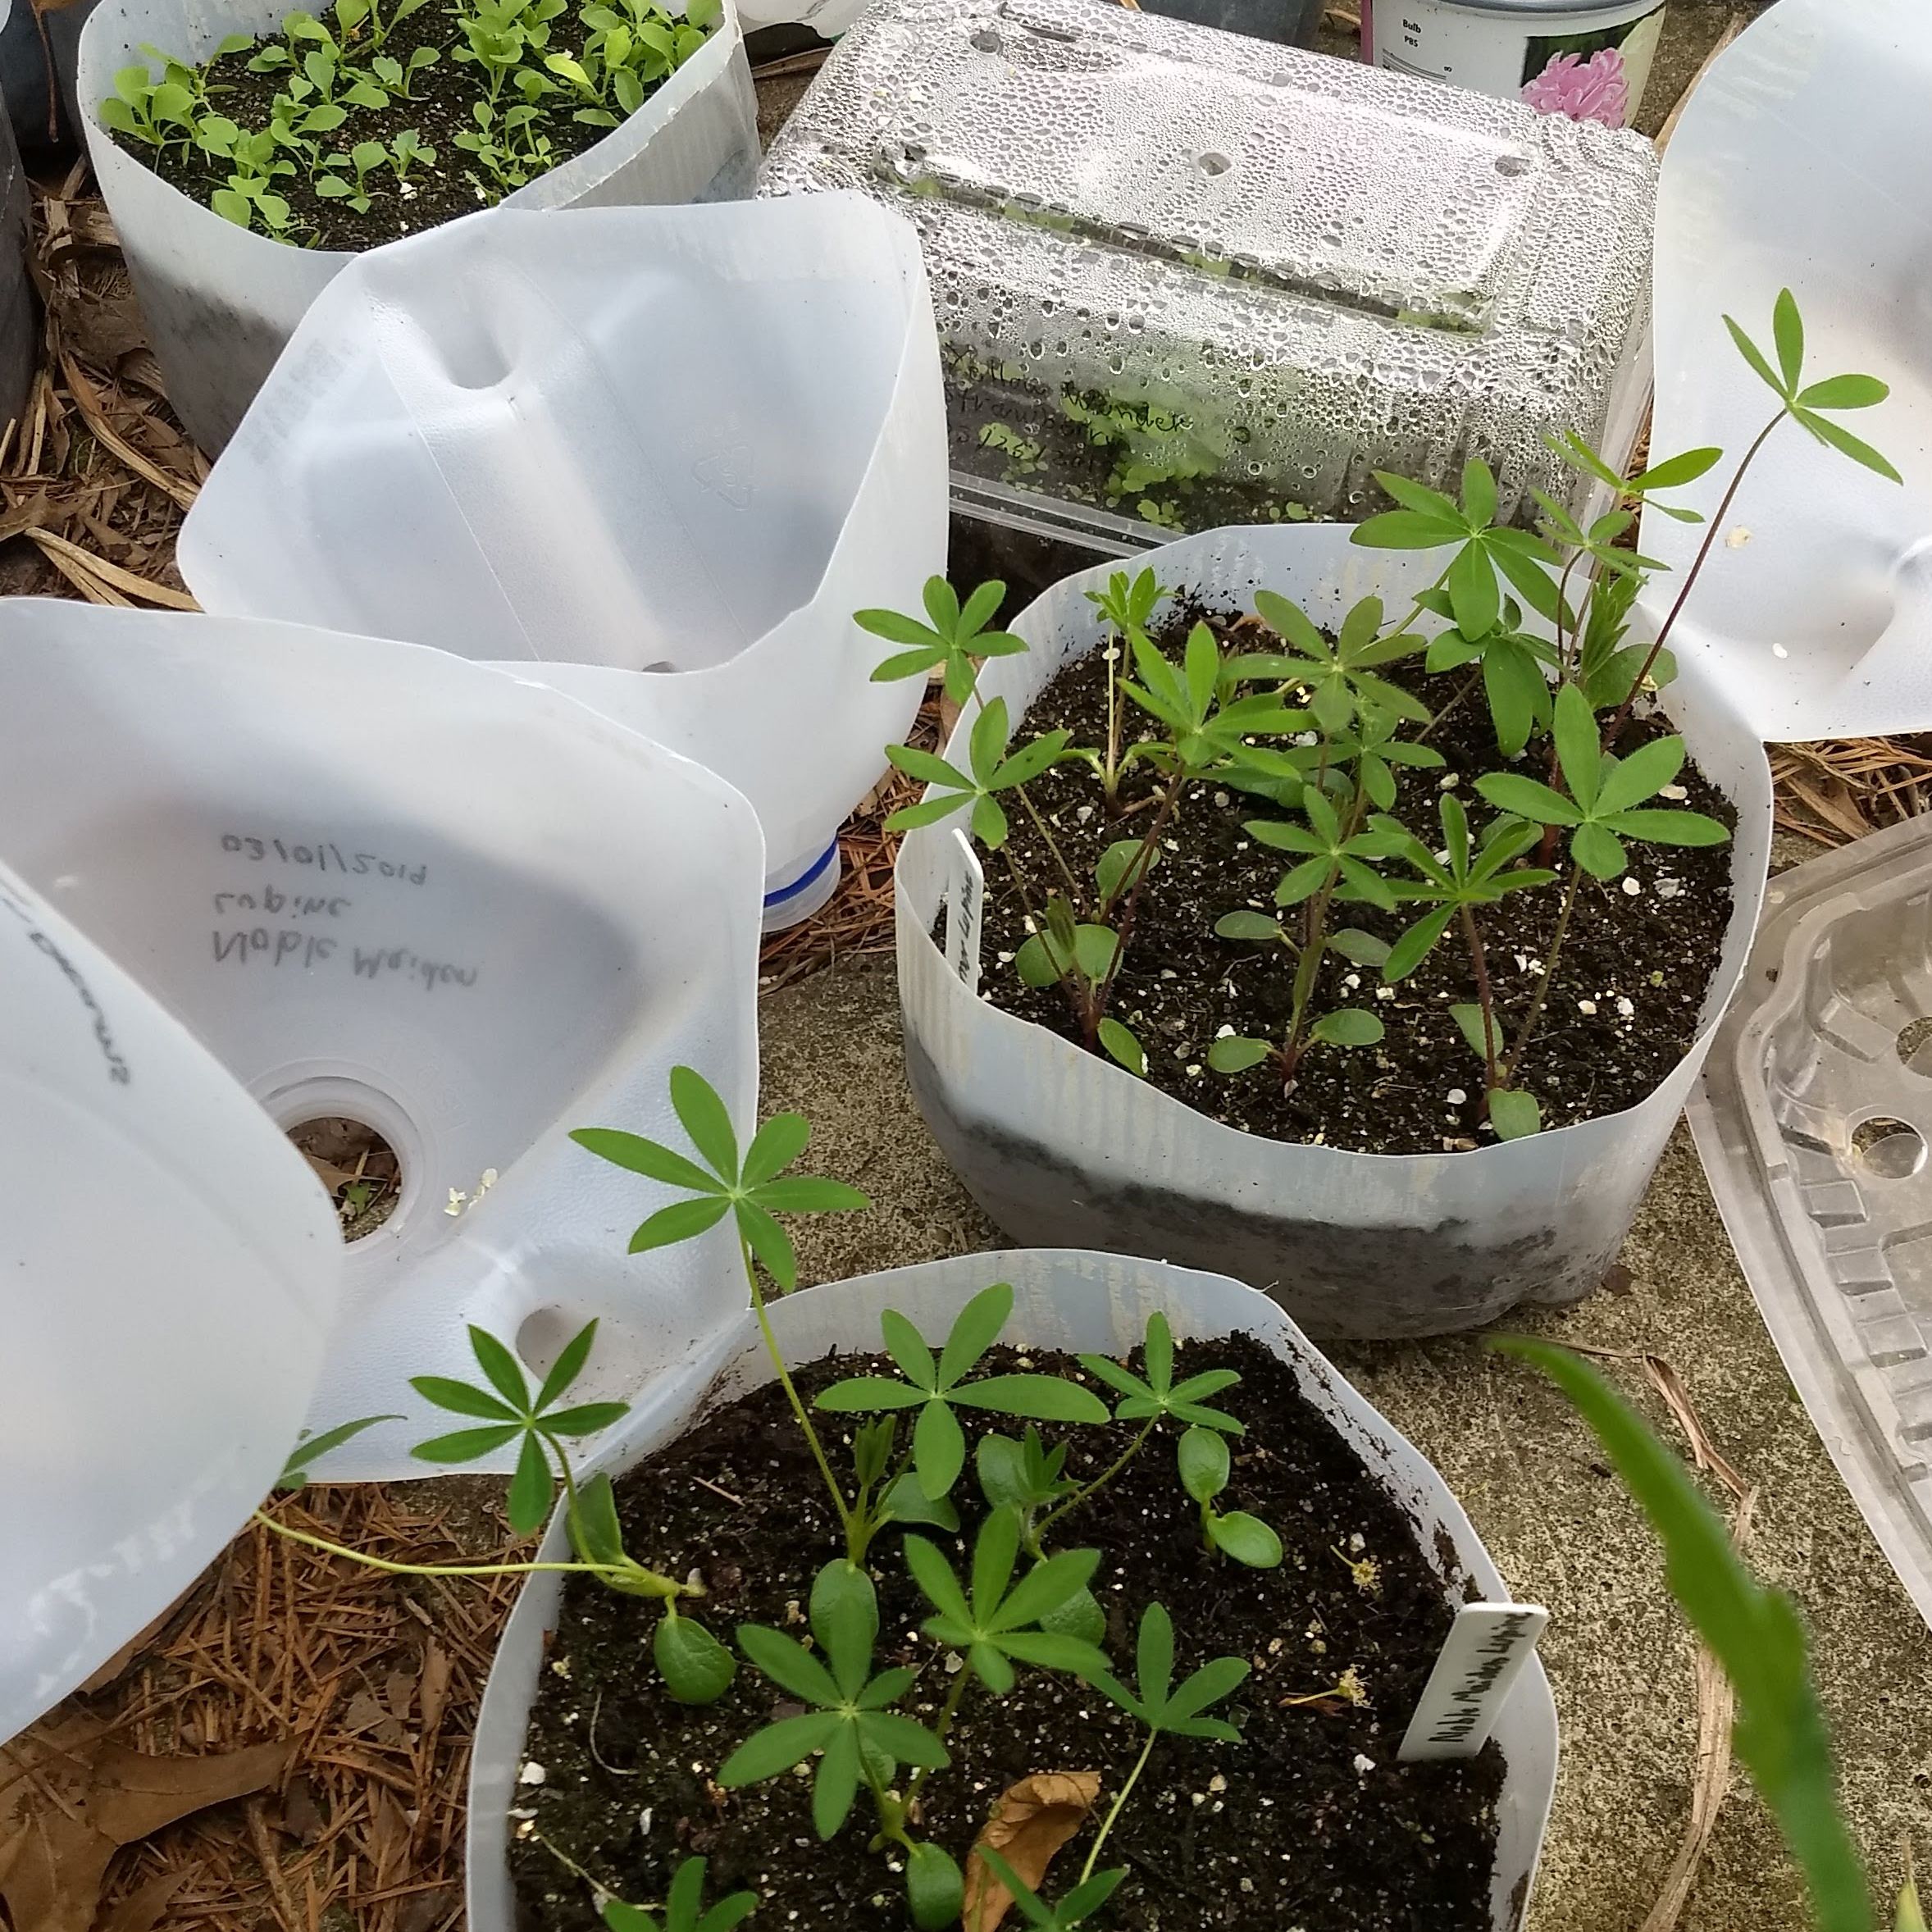
- Consider the “winter sowing” technique. Basically, sowing seeds in little cloches, and letting the seeds come up when they will. Makes very sturdy plants, might not get as early a start.
Step three: How?
-
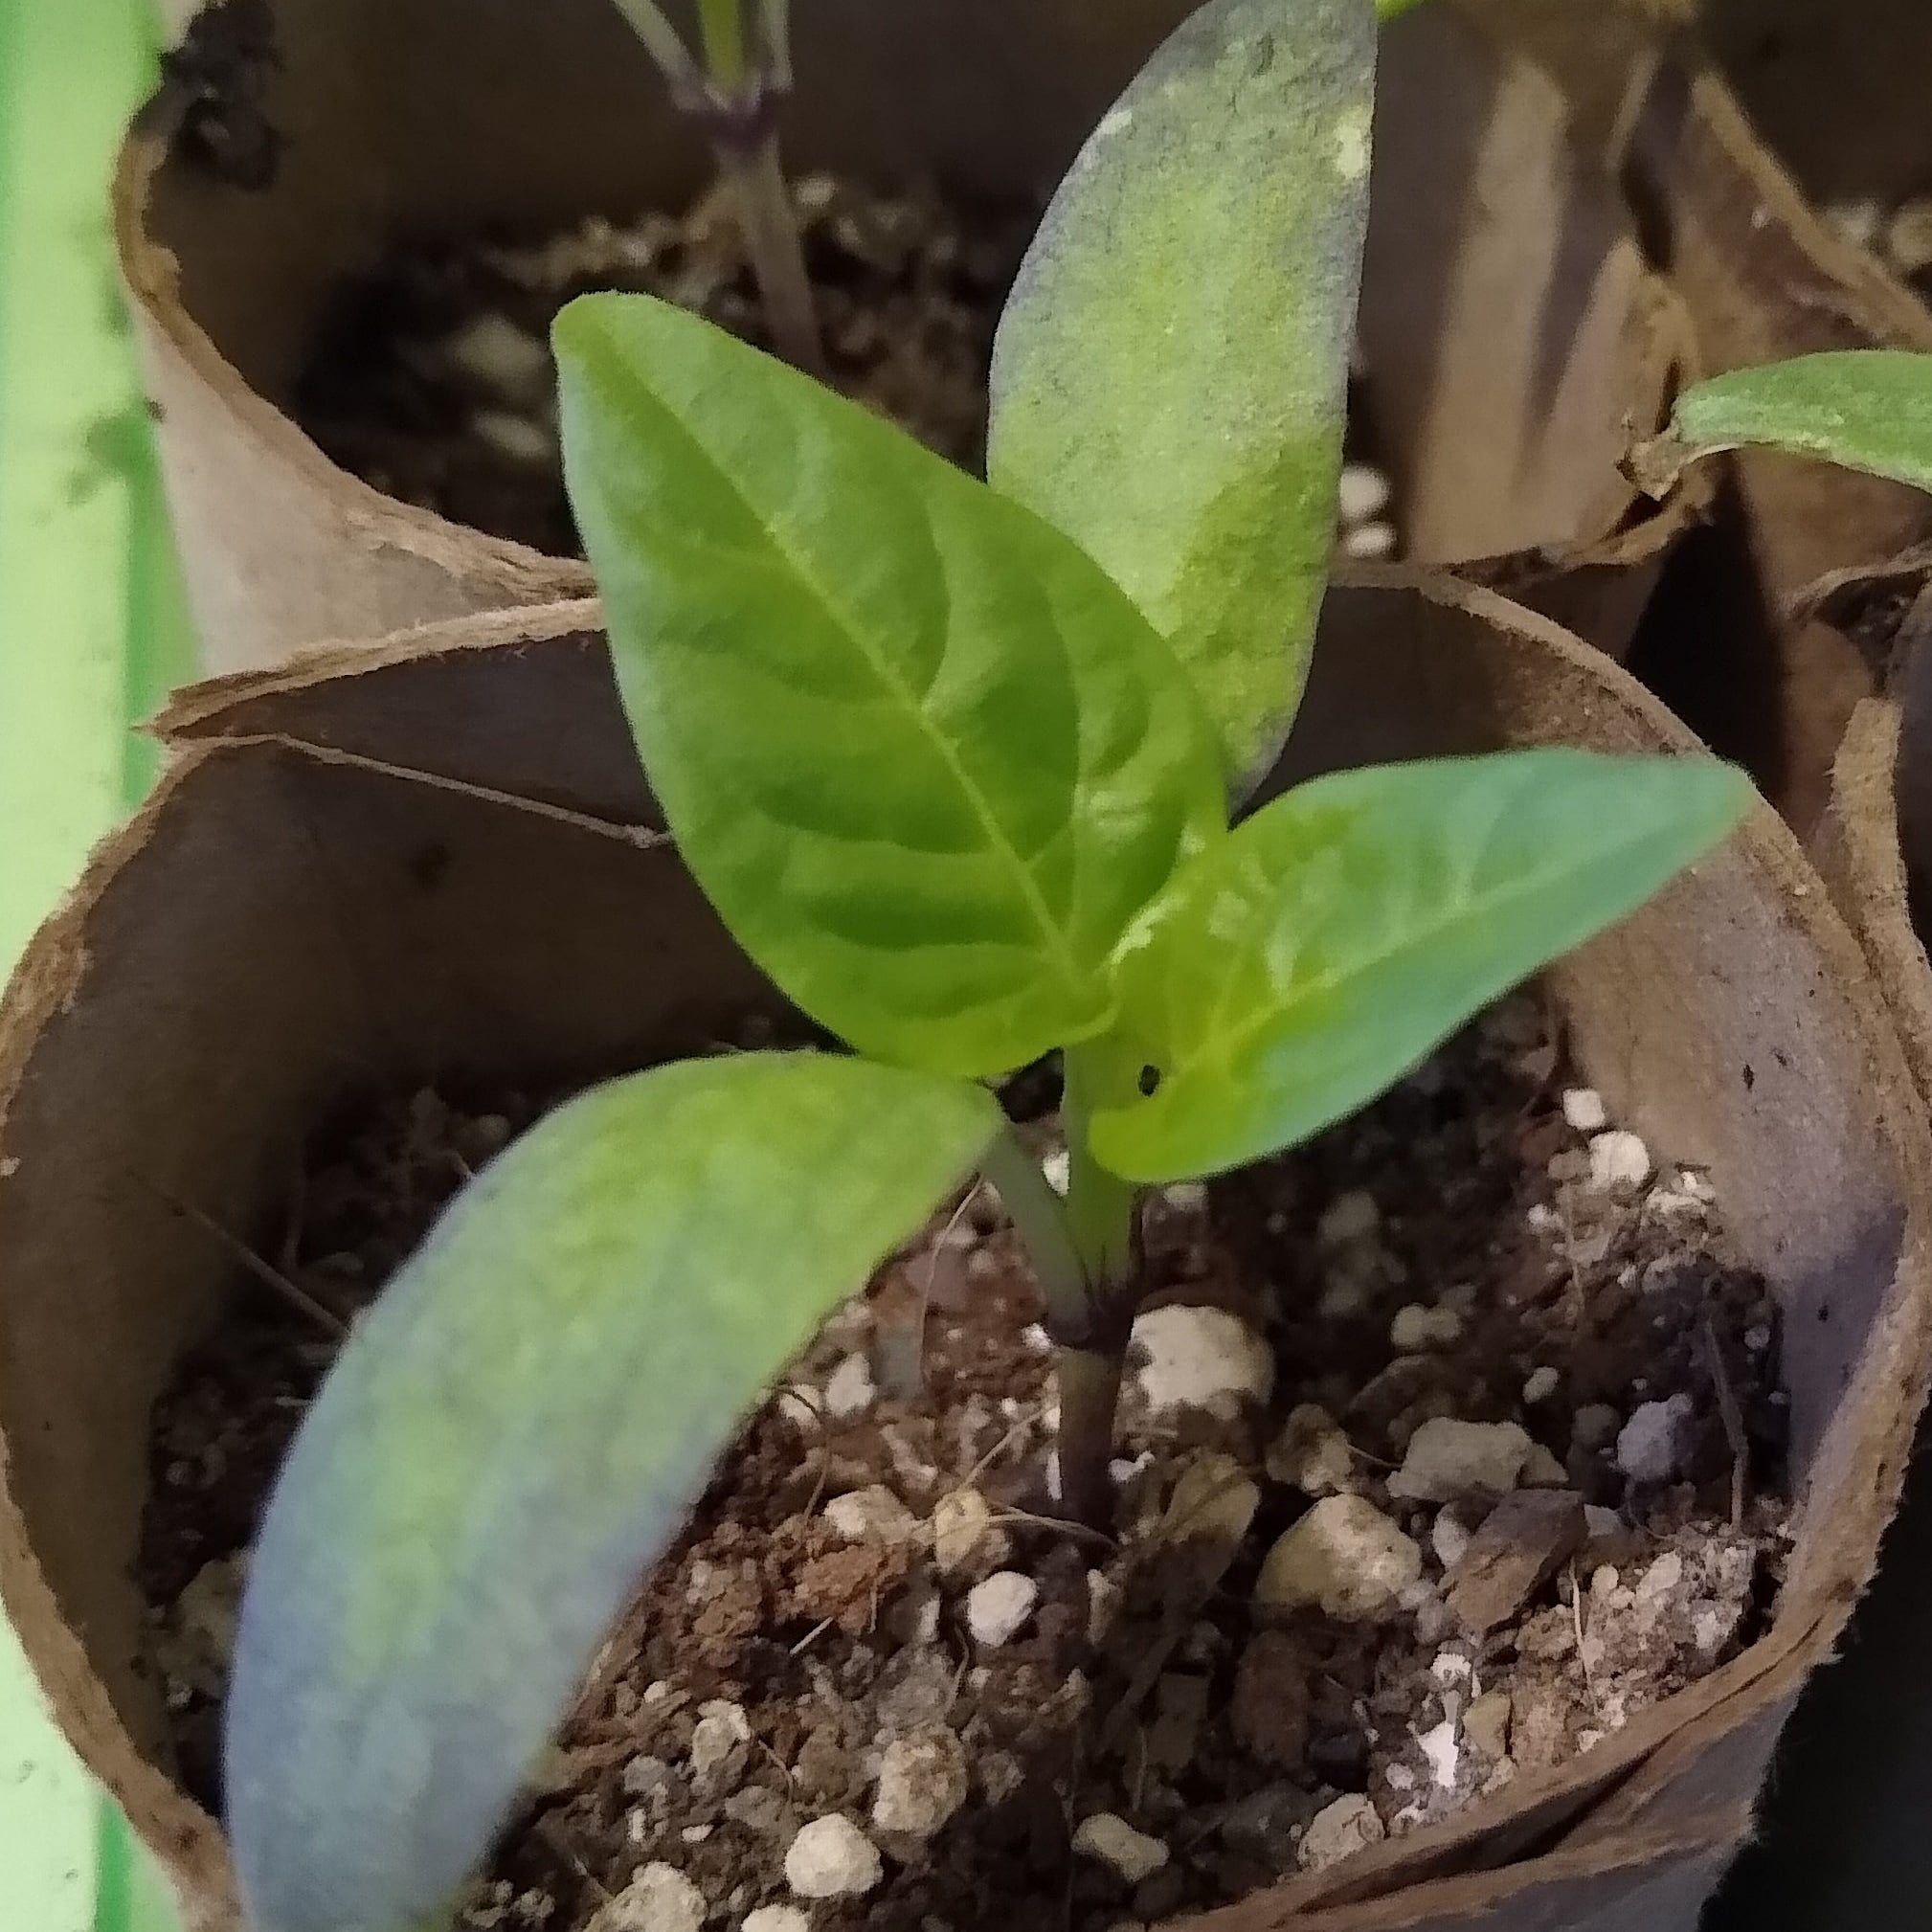
Containers: Please use standard plastic tray, newspaper pots, peat plugs, used food containers, etc. that have a decent amount of space and adequate drainage.
- Why not egg cartons/eggshells? Because they a) do not have enough space for seeds to do much more than sprout and b) the egg cartons tend to dry soil out very quickly.
-
Medium: Seed starting mix, potting soil, whatever, do NOT use garden soil without killing the weed seeds first. If you use a seed starting mix, keep in mind that it won’t have enough fertility to support the seedlings for very long. It is meant to be used to germinate seeds, and then have those seedlings transplanted into a richer mix to grow on.
- Which do well with transplant, which do not: (paper pots are great for those that don’t like transplanting)
- Take well to transplanting: brassicas (think broccoli family), nightshades (tomato family), leafy greens
- Fussy and need help to transplant well: Squash, cucumbers, melons, etc
- Just don’t: carrots, beets, other root crops.
- If they don’t transplant well, focus on direct sowing.
-
Light: Give them as much as possible, a south facing window, or indoor grow lights. If you’re using a light, look for one that says full spectrum, day light, or says it is over 5000 kelvin.
- The warmer you keep the seedlings, the brighter the light they need. Warmth determines their metabolism, and light is their fuel/food, so you can keep them from etoliating/stretching out by keeping them at cooler temperatures. Keeping seedlings at cooler temperatures can help you get stocky, sturdy, vigorous plants. This is a really big key, so pay attention. A lot of people struggle with weak seedlings that have stretched out in their search for light, and that can be avoided if you match temperature to light levels.
-
Fill your container(s). Tamp down soil- movement of water depends on capillary action, which depends on the soil particles being close enough together. Consult package on depth, or use 3x diameter of seed. Plant. Water. Wait.
-
Watering: keep evenly moist, do not let them dry out. Not so much that it’s soggy though—so after you water they shouldn’t be sitting in a puddle of water an hour later. I prefer to bottom water. To do that, put your container in a tray of water, and let it soak up. If you’ve tamped it down properly, you’ll see the surface moisten.
So they’ve sprouted, now what?
If you’re using a peat or commercial seed starting mix, it likely doesn’t have enough fertility to support growth beyond the first few true seed leaves. That means that as soon as you see true leaves coming out, you have two choices: either use a water-soluble fertilizer, or gently transfer the seedlings to a more fertile soil mix. Those of you who struggled with your plants not growing, this is the key: provide fertility.
The big day: Transplanting!
Harden off first! The wee ones have been indoors, in very gentle conditions, and need to adapt to the outdoors environment before you transplant them out there. If you don’t, the cold can harm them, and they can also get sunburnt. Acclimate them by putting them outdoors for an hour the first day, a few hours the next, gradually increasing the amount of time they spend outdoors until a week or so has passed. DO NOT transplant out frost tender plants (nightshades, squashes, pumpkins, cucumbers, etc) until the danger of frost has passed (unless you have a tunnel or greenhouse).
- Transplanting, general: Water plants well the day before. Pick a moderate time of day if it’s been hot. Prepare the hole—bigger than the pot was, and deeper if tomato or brassica. If it’s one that needs extra fertility, thoroughly mix in some compost. Loosen the plant in the pot by gently squeezing or tapping, make sure the roots aren’t circling (if they are, gently tease them apart), and put in hole. Back fill hole and press down. Water thoroughly.
- For sensitive plants: all the above, but “mud in” the plant, that is, water enough that water sits on the surface for at least 15 seconds. Cover—if it’s hot, a cardboard box to shade, if it’s cool a bucket to hold in extra warmth.
Success through the summer
- Provide fertility: some plants, like potatoes and kale likely won’t need much additional fertility beyond what’s already in your soil. Some crops, like corn, squash, and broccoli need a lot more fertility to make a decent crop.
- I prefer to provide this fertility through composts, cover crops, and mineral supplements. If you’re not organic, you can just use Miracle-Gro. Whether it’s organic or not, it’s generally a good idea to follow the package directions for best results. It’s just as easy to over fertilize and burn your plants as it is to under fertilize and get stunted growth.
Learning More
- Visit community gardens, visit the Master Gardener demonstration gardens, check out the Thurston County Master gardeners website (and feel free to ask them lots of questions). https://extension.wsu.edu/thurston/gardening-resources/
- Facebook groups can be very helpful, gardening forums as well.
Useful websites
http://www.lindagilkeson.ca/gardening_tips.html — Really, super useful and in our regions, highly recommend signing up for her email list and reading the archive.
http://nwedible.com/gardening-index/?fwp_gardening=monthly-garden-chore-lists — Monthly garden chore lists, keeps you on track.
https://tilth.org/education/resources/pacific-northwest-planting-harvest-calendar/ — Planting and harvest chart, pretty nifty.
https://www.johnnyseeds.com/growers-library/seed-planting-schedule-calculator.html — Seed sowing date calculator—put in your last frost, get general dates for everything.
https://davesgarden.com/guides/freeze-frost-dates/#b — For last frost dates (and a lot more).
https://garden.org/apps/frost-dates/Olympia%2C+Washington/ — Another last frost date site.
Seed Companies I use
Based in Western Washington:
- Uprising Organics (All Open Pollinated, all organic)
- Adaptive Seed (All Open Pollinated, all organic)
- Deep Harvest (All Open Pollinated, all organic, very small)
Based in Western Oregon:
- Territorial Seed
- Nicole’s Garden Nursery
Based in B.C.:
- West Coast Seed
Based elsewhere:
- Fedco Seeds (Co-op)
- Johnny’s Selected Seeds (Employee Owned)
There are, of course, many more, but those tend to be my go-to.
My contact info
Please feel free to contact me with any questions you might have about gardening and growing your own food.
https://clarksgardening.wordpress.com/ My web-page, with info about my gardening services and classes
https://tinyurl.com/seedstarting2020 link for easy sharing
If you’ve found this page through the wandering paths of the Internet and would like to support me, my kofi is https://ko-fi.com/clarkgardening
Notes
1 Some seeds’ cotyledons stay in the soil, and the embryo is the part that emerges. Examples include snow peas and corn. Others have their seed leaves emerge as their first leaves, e.g., broccoli and sunflowers.
Chat with Anna (username Zappy_snaps) on Garden Revival or pick up more nuggets of wisdom on her Instagram.