January 17, 2021 by Calamity Jane
The Art and Science of Drying Botanicals
Flower pressing was a hobby practiced by Victorian ladies, an art form called Oshibana in medieval Japan, and can be traced 3000 years back to ancient Egypt. It has remained popular for good reason. When done correctly, it can create truly beautiful results that last for ages. “A properly pressed sample can be stored for several hundred years, which makes it a super useful tool for confirming a species for biologists in the present and far future,” says Garden Revival member and avid botanist Passiflora. Whether it’s for scrapbooks or resin projects, drying and pressing flowers is worth the effort you put into it.
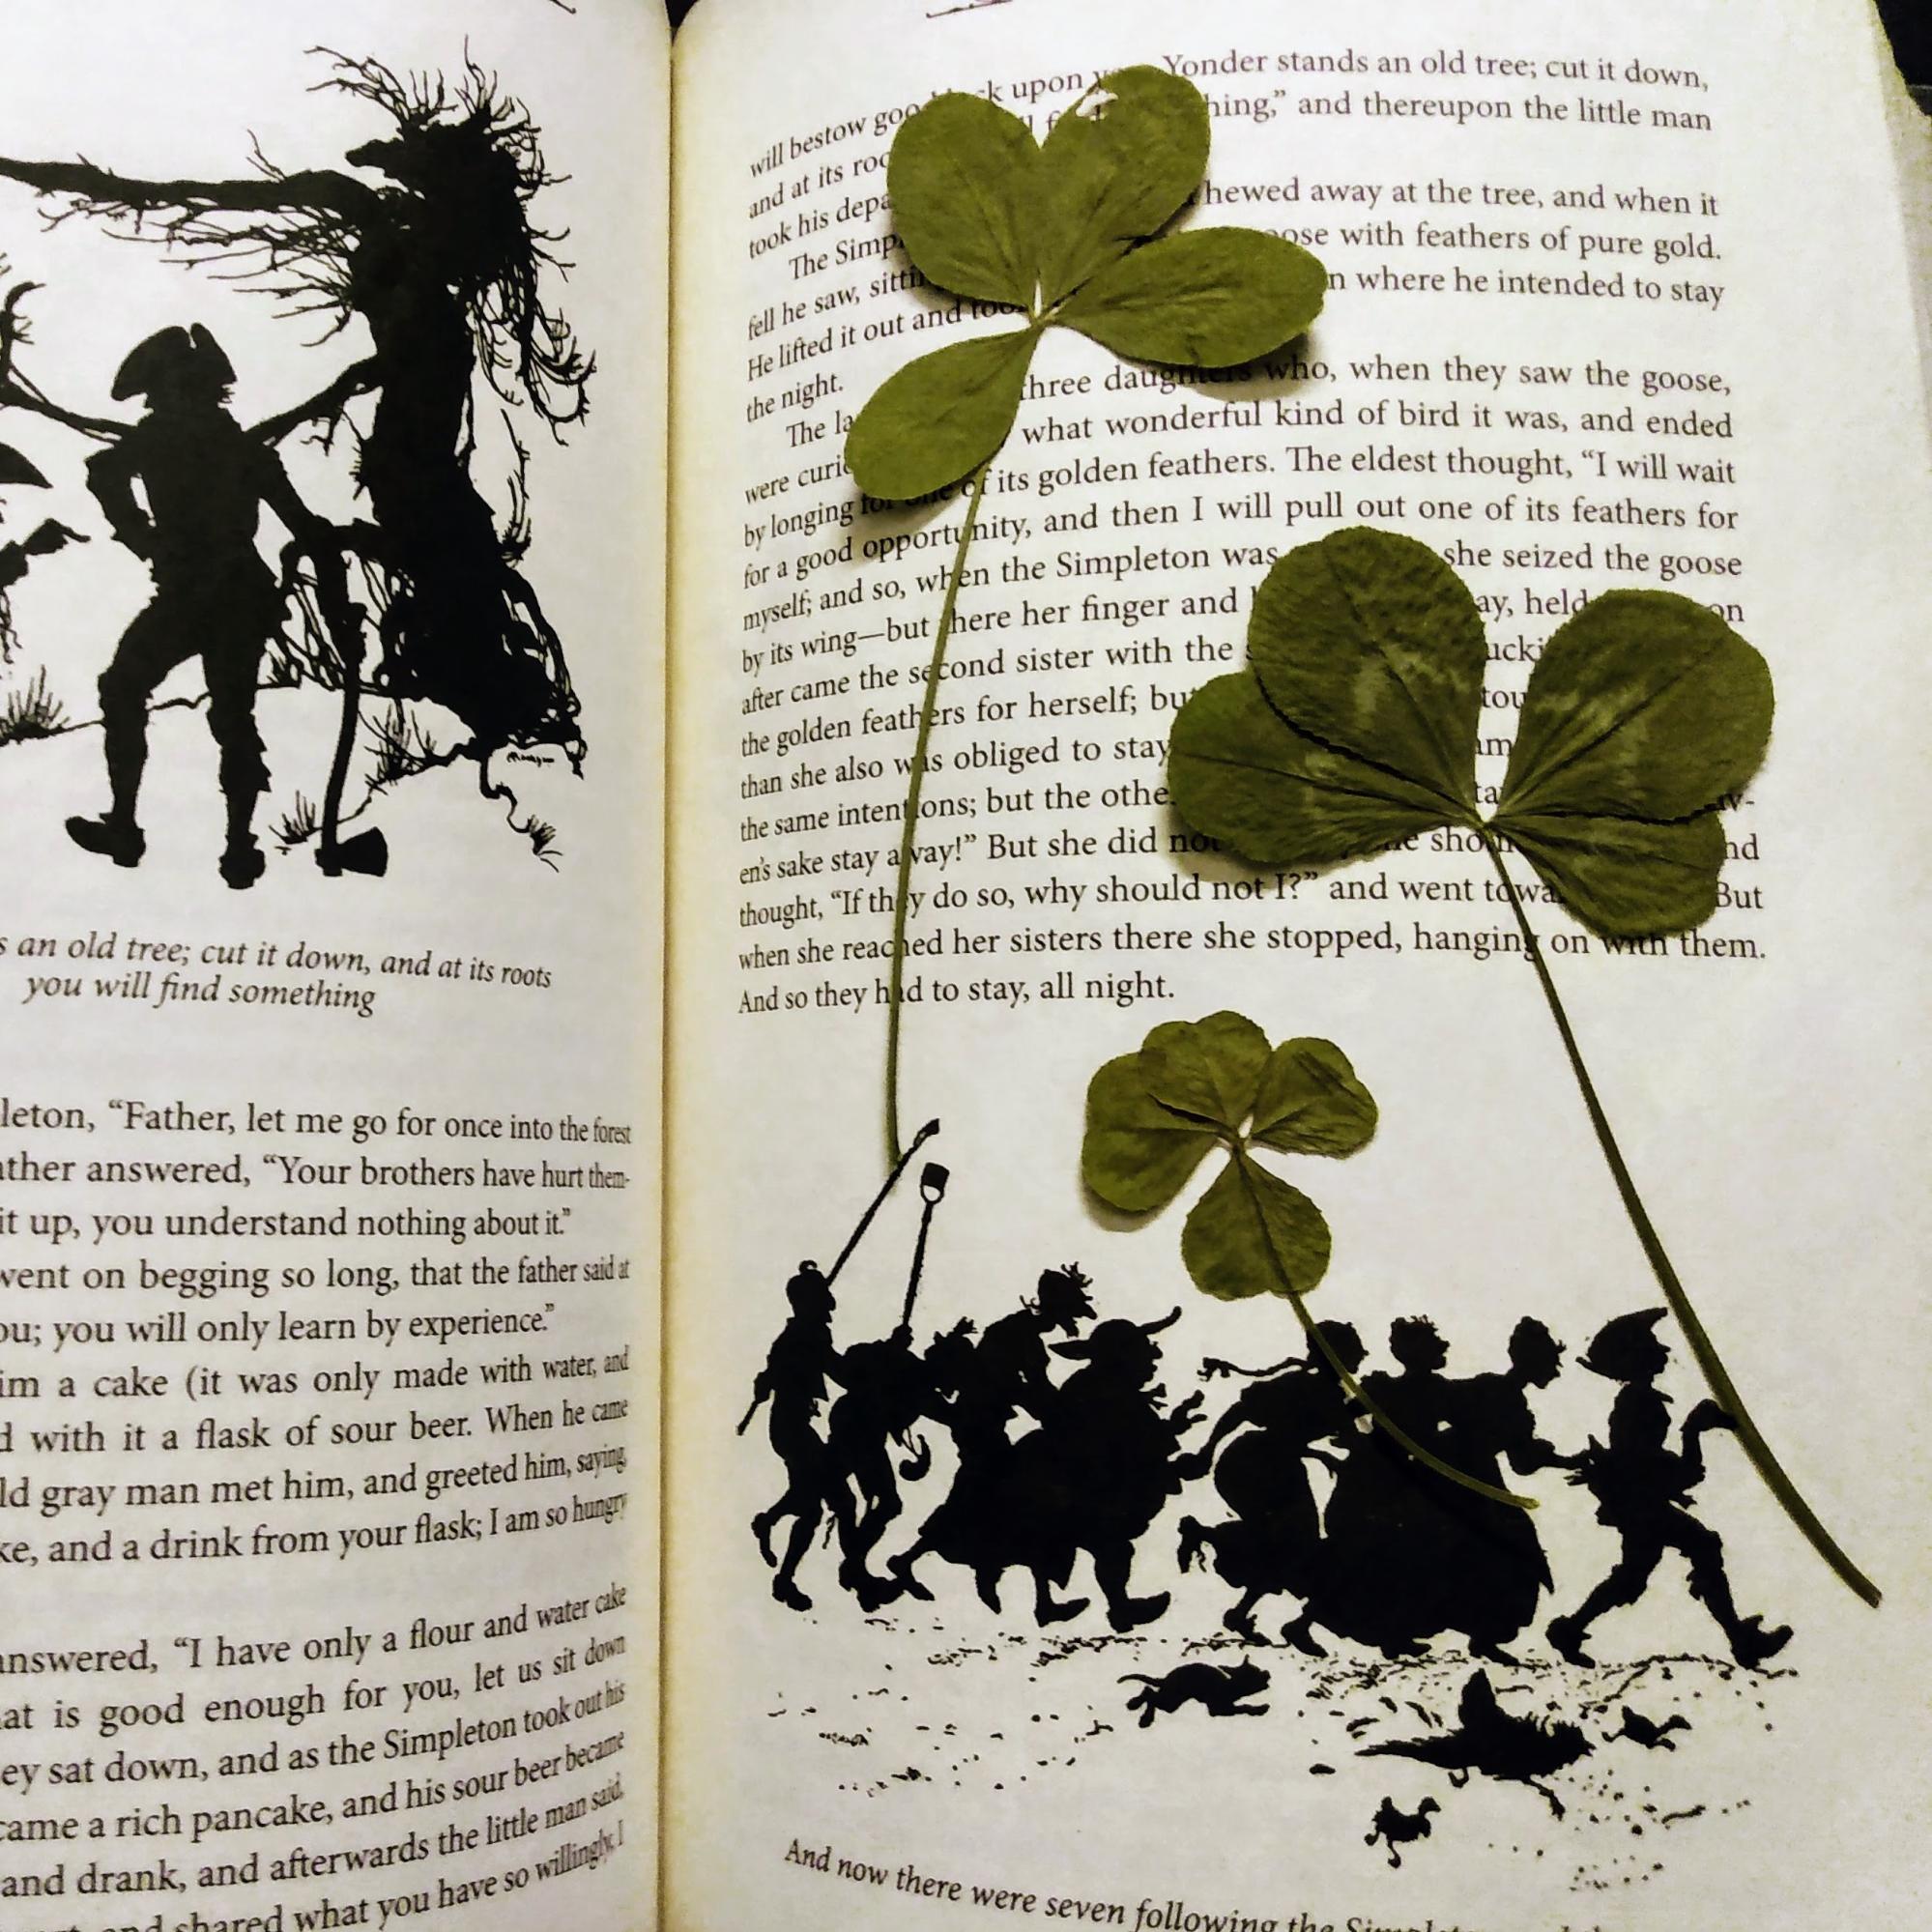
Picking the correct flower to dry is primary for success. Anything thin that can dry quickly will do well, such as four-leaf clovers and grasses. Thin flowers with a flat center are the best, but thicker varieties can be cut in half to create gorgeous results.
To achieve maximum color, use your flowers as soon as you can, and hydrate your cuttings. Remove all lower leaves that will be under water in your vase, then prep your water with flower food or a teaspoon of sugar. Cut stems at an angle and allow them to soak in a cool place out of the sun. They only need to soak a couple hours before they are ready to be pressed.
There are many drying methods to use, but the longer it takes to dry the flower, the higher the chance of browning. Most people use quick drying methods and finish pressing another way. I have had lots of success by pressing plants with heavy books between some newspaper. Newspapers and heavy books are cheaper materials for beginners if you aren’t prepared to buy or make a flower press.
Another method requires flattening the flower between books for a small amount of time. Then, using parchment paper as a barrier, on low heat, ironing the flower lightly. This dries the flower quickly and the process is usually finished by pressing the flower once more. Doing so reduces browning by speeding up drying time, though I’m sure other low heat methods work as well.
Passiflora is no stranger to pressing botanicals and took a slew of courses that made heavy use of pressing plants. “When it comes to pressing plants for botanical specimens, botanists try to get all the foliage, flowering parts, and roots representative of how the plant looks in nature. So there can’t be any mis-folding of the leaves, the flowers you want head on and sideways. If there’s a fruit/reproductive structure you want to get a sample, a root or bark sample if possible too.” In the example of a fern, says Passiflora, it is important that the plant have a frond facing up and down to show the spore producing part.

“There are also a lot of plants out there that just don’t press and store properly. A great example is cacti—they just don’t dehydrate well so getting them to press is extremely challenging. Curt Backeberg, one of the earliest botanists to go about describing cacti in literature (and thus giving them latin names) found and named about one third of all cacti species. The thing is, he never took botanical specimens because he couldn’t press them. Even though he did his work something like 60 years ago we’re still trying to sort out the mess of botanical misnamings that have gone on since then, as people have discovered species and described them but those descriptions kinda match the species he already found,” Passi explains.
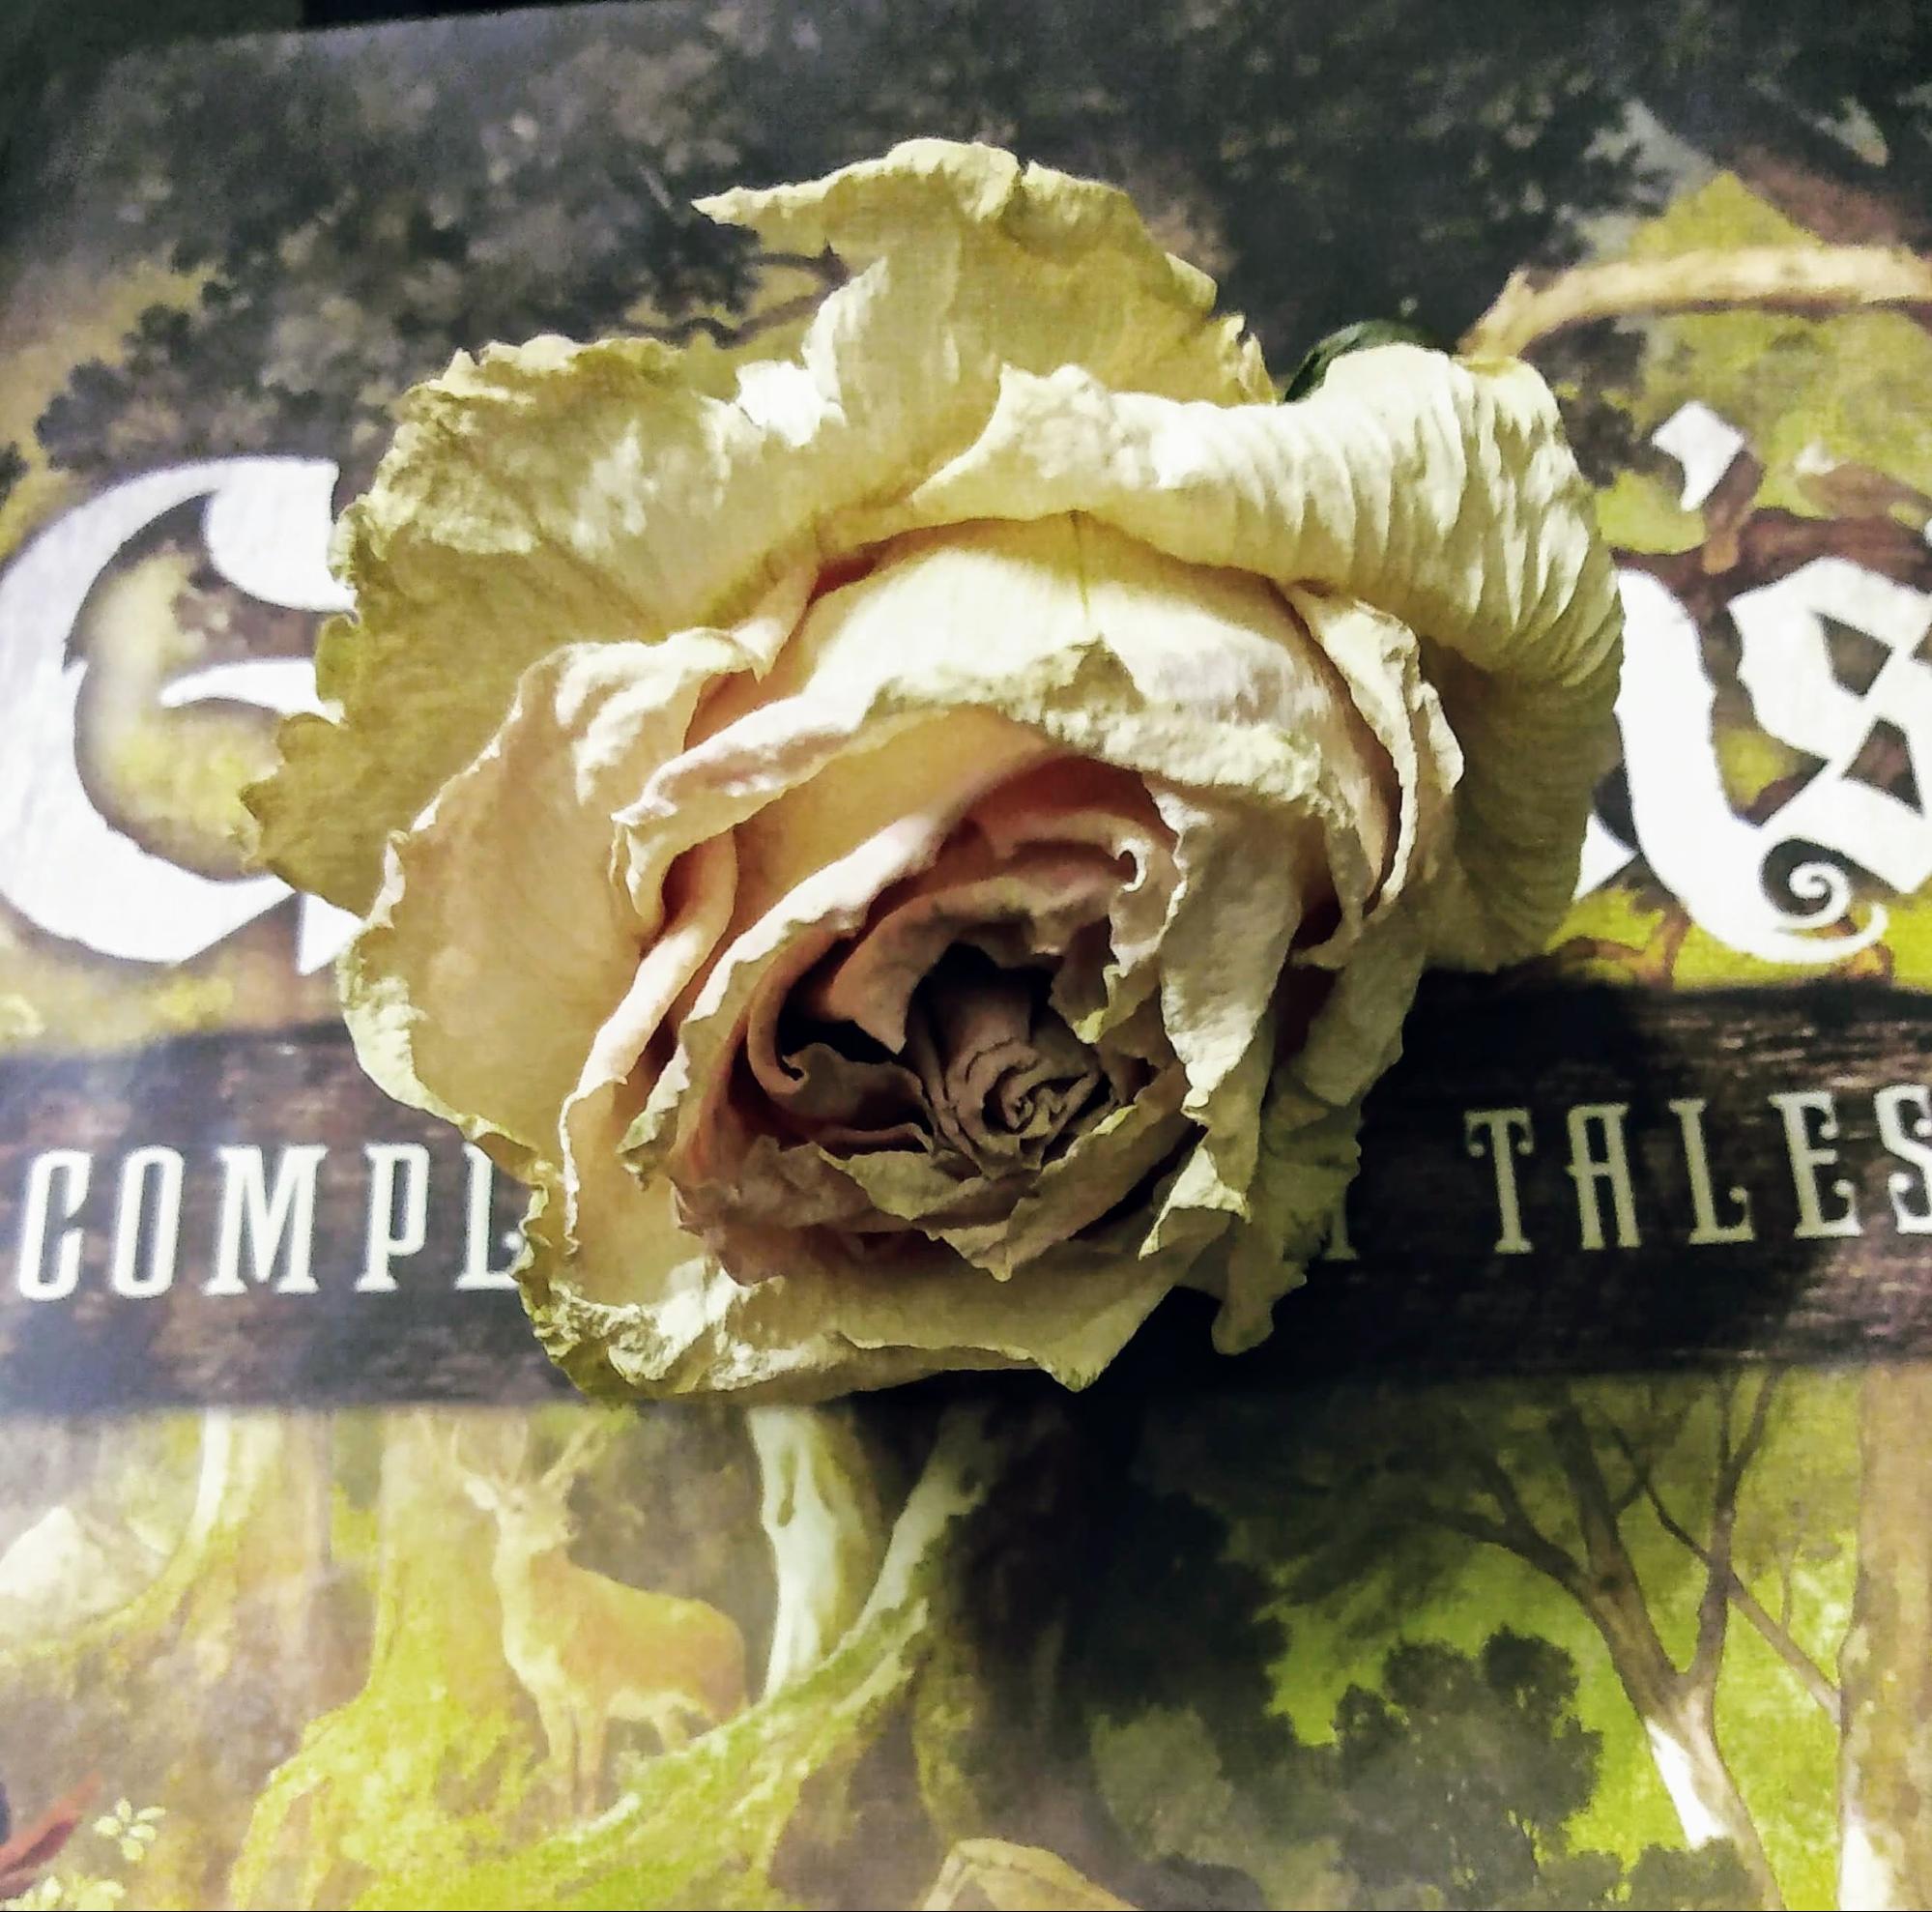
There is also a traditional method of preserving flowers in their full shape that I have always been a fan of and tend to lean towards more these days. It involves hanging them upside down to dry for a month. When picking fresh flowers, select ones at or before peak bloom. If picked later, petals might drop during the drying process. Hang the plants in a well ventilated area to keep away mold and out of direct sunlight, which can cause discoloration. I use any kind of string I have on hand, I have even used culinary twine but hemp is the best because it doesn’t fuse to anything. I usually have a tack on my wall to hang the string from. Plants dried in this manner can be enjoyed as decoration with delicate handling for up to a year.
Now that you have your dried flowers, you can use them for all sorts of crafts! The art of decoupage can be done to anything and everything using flowers, from gift boxes and wrapping paper to a table design. Resin is a wonderful medium that requires flowers be dried first before using, and therefore can benefit from the methods above. You could scrapbook full plant specimens for future generations to learn from (or in your Grimoire, I don’t judge.) Or you could be lazy like me and just slap some flowers between glass, frame it, and call it good. Whatever your fancy, the flowers are calling, and they demand to be dried.
To find out more about hanging flowers to dry and how to arrange dried flowers, check out this episode of A Way to Garden where Margret Roach interviews Jenny Elliot of Tiny Hearts Farm. Have a peek at Emily Dickinson’s herbarium. And here’s a video from Garden Answer about preserving dried flowers in resin. If you have questions for Calamity Jane or Passiflora, chat with them on Garden Revival.